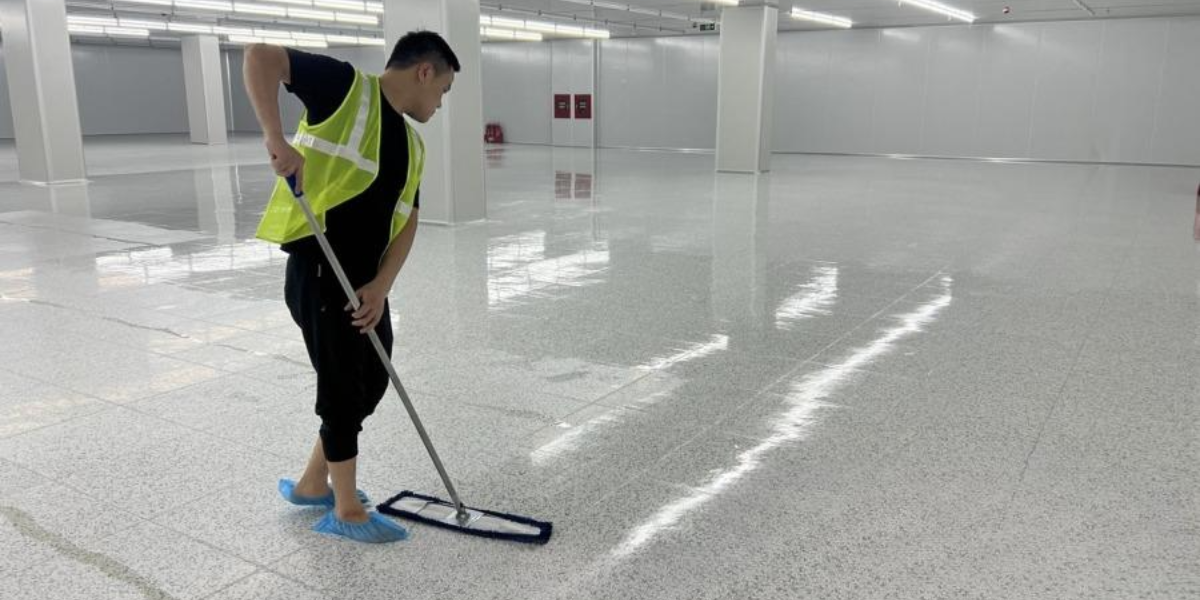
Floor waxing is a process that requires careful preparation and adherence to technical steps to achieve the best results. This process not only brings a smooth shine but also protects the floor from harmful agents such as dirt, water and chemicals. Below is a detailed floor waxing process, which is applied to many types of floors such as vinyl, wood, marble, and especially anti-static floors.
I. Construction Preparation
Necessary Tools and Machinery
Warning signs: Placed in the construction area to ensure safety.
Floor mop, cotton swab, cleaning cloth: Used for cleaning and waxing.
Floor scrubbing pad, floor scrubber, water vacuum: Used to clean the floor surface before coating.
High-speed polishing machine: Used in the final step to increase the floor's shine.
Necessary Chemicals
Glue stripping chemicals: Used to remove old glue and adhesives on the floor.
Floor polishing chemicals: Helps create shine and protect the floor surface.
Anti-static vinyl floor polishing solution: Exclusively for anti-static vinyl floors.
II. Construction Process
1. Cleaning the Floor Surface
Cleaning the floor surface is the first and very important step to ensure the high efficiency of the polishing coating. The floor needs to be completely removed of dirt, old glue, and other stains to help the wax coating adhere better.
Requirements
The floor surface must be completely clean, with no glue, dirt or paint stains.
Implementation
Place a warning sign in the construction area to ensure the safety of pedestrians.
Mix the floor cleaning chemicals at a ratio of 1:10 (1 part chemical, 10 parts water), then put it in the floor scrubber.
Scrub the floor with a scrubbing pad to remove old glue and stains on the floor.
Use a water vacuum to suck up the dirty water on the floor.
Wipe the floor again with clean water and let the floor dry naturally.
2. Apply a Wax Coat
After the floor has been cleaned and dried, apply a wax coat to create shine and protect the surface. Each wax coat must be applied evenly and thinly to ensure even shine.
Requirements
The floor must have a uniform shine, without scratches or stains.
Implementation
Pour the polishing chemical into the construction tool (water wringer or container).
Use a cotton swab to absorb the chemical and apply it evenly to the floor surface. Apply a thin and even layer.
Wait about 60 minutes for the first wax coat to dry naturally, then apply the second coat.
Apply 2-3 more coats, each coat 30-40 minutes apart, to achieve optimal shine and protection.
3. Finishing and Polishing
After applying enough wax coats, let the coat dry completely. To increase the shine, you can use a high-speed polishing machine.
Complete drying time: After about 4-5 hours, the floor can be used normally. However, to achieve optimal durability, wait at least 36 hours before the floor is subjected to heavy loads or used regularly.
III. Notes When Applying Floor Wax
Construction conditions: Avoid applying when the weather is too humid or windy, as this may affect the quality of the gloss coating.
Number of coats: Apply at least 2-3 coats to ensure the durability and aesthetics of the floor.
Periodic maintenance: To maintain the gloss and longevity of the floor, periodic maintenance is required, including cleaning and re-applying the wax after a period of use.
Conclusion
The process of applying floor wax requires careful attention in every step, from cleaning the surface to applying the wax and maintaining it after application. Performing the correct process not only brings perfect smoothness and gloss but also helps protect the floor surface from harmful agents, maintaining the beauty and durability of the floor. In particular, wax products from Hoang Ha IBT not only ensure high quality but also help optimize the construction process, bringing outstanding efficiency to every project.


