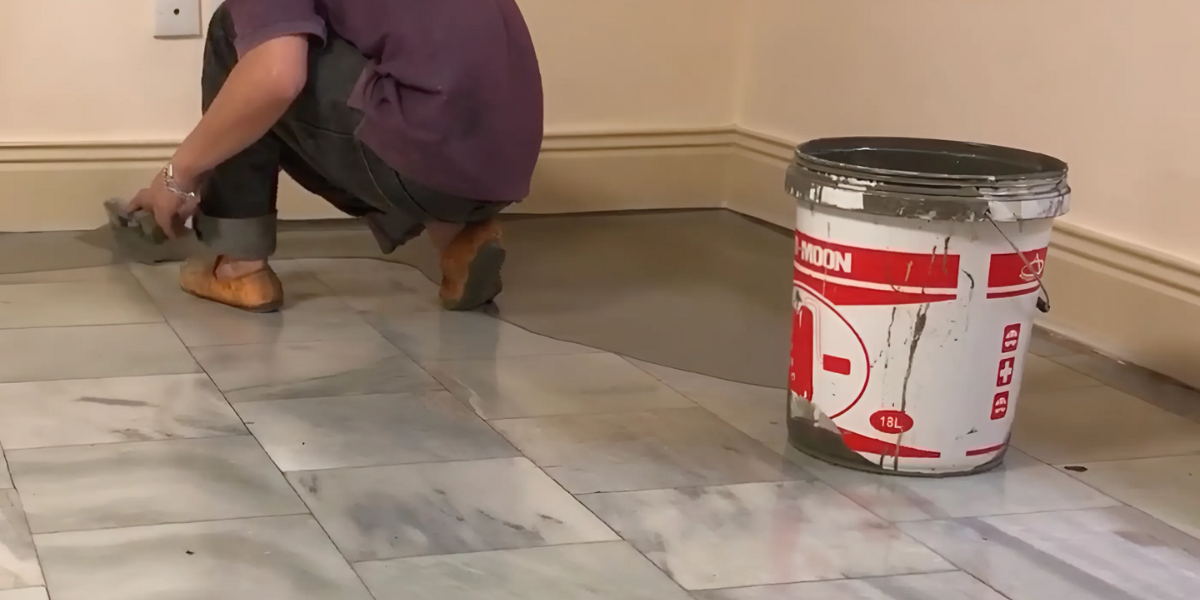
Construction of self-leveling mortar is not a very complicated process, but requires carefulness and compliance with the correct procedure to ensure the finished surface meets standards and has high durability. In this article, Hoang Ha IBT Group will provide detailed instructions on how to construct self-leveling mortar, from preparation steps to specific construction steps, helping you understand more about the construction work in the most effective way.
1. Surface Preparation
- Check and Clean the Base
Before proceeding with the construction of self-leveling mortar, the base surface needs to be carefully inspected. Make sure that the base has no large cracks, grease, dirt or substances that hinder adhesion. If there are any cracks, you should repair them first with suitable materials.
- Primer (Primer)
The primer rolling step is one of the most important steps. Primer is a primer that helps increase the adhesion between the self-leveling mortar and the old base. To ensure effectiveness, you need to choose the right Primer for the type of substrate and mortar used. A commonly recommended Primer product is Primer 712, because it has good adhesion and is easy to apply.
How to do it: Use a roller to roll the Primer evenly over the entire substrate surface. Wait until the Primer layer is completely dry before proceeding to the next step (usually the drying time is about a few hours, depending on weather conditions).
2. Mix Self-Leveling Mortar
- After the Primer layer has dried, you will proceed to mix the self-leveling mortar according to the manufacturer's recommended ratio. The ratio of water and mortar must be mixed correctly to ensure the mortar's fluidity and self-leveling.
- How to mix: Read the instructions on the mortar product packaging carefully to know the required ratio of water and mortar. Use a hand mixer or industrial mixer to stir the mixture until the mortar reaches a fluid and uniform consistency.
3. Self-Leveling Mortar Construction
- Pouring Mortar
Once the mortar mixture has been mixed well, you will proceed to pour the mortar onto the floor. Start from a corner and gradually move towards the exit to avoid stepping on the undried mortar surface.
How to pour: Pour the mortar slowly and evenly to ensure that the mortar layer covers the entire floor. The mortar layer thickness is usually 2-3mm, depending on the requirements of the project.
- Using a Trowel
After pouring the mortar, use a trowel to evenly spread the mortar on the surface, helping the mortar spread and level evenly. The trowel will help remove areas with excess or lack of mortar, ensuring the mortar layer is perfectly flat.
- Rolling a Spiked Roller
After leveling, use a spiked roller to roll over the mortar surface. This will help remove air bubbles in the mortar and ensure a smooth, porous surface after drying.
Note: The spiked roller is a specialized tool that you can buy at construction material or construction equipment stores. Make sure to roll thoroughly to achieve a smooth, air-bubble-free surface.
4. Drying Time and Inspection
After completing the construction, the self-leveling mortar needs time to dry and reach a certain hardness. Normally, the mortar layer will dry after about 24 hours and reach maximum hardness after 48 hours.
Surface inspection: After the mortar has completely dried, you should check the surface to make sure there are no cracks, holes or technical errors. If necessary, you can handle minor defects before proceeding with the construction of the next finishing layers such as wooden floors, ceramic tiles, or plastic floors.
5. Some Notes When Constructing Self-Leveling Mortar
Weather conditions: Self-leveling mortar is best constructed in dry weather conditions. Avoid construction when it is raining or the humidity is too high because this can affect the drying time and adhesion quality of the mortar.
Protective equipment: When working with mortar, you should use protective equipment such as gloves, goggles and masks to protect your health.
Monitor the progress: During the construction process, make sure that the mortar is mixed and poured properly, without cracks or dents on the surface.
Construction of self-leveling mortar is an effective solution to create a flat, smooth and durable surface for many different types of floors. The construction process includes main steps such as rolling a layer of Primer, mixing mortar in the correct ratio, pouring mortar, using a trowel and a spiked roller to ensure a smooth surface. For the best results, you need to pay attention to follow the instructions and ensure suitable construction conditions.
With the detailed instructions above, we hope that you will successfully carry out the construction of self-leveling mortar, bringing quality results to your project. If you need more information or support, please contact reputable material suppliers such as Hoang Ha, which provides professional construction products and solutions.


